Hightlight is the term used to describe a light or bright area in a scene, or the lightest area in a scene. Due to the linear way sensors collect light there can be a point at the brightest end, at which the tones will suddenly become featureless, this is known as highlight clipping. In digital photography if an image is overexposed you will notice a sudden break rather than a "roll off" that you find with film.
My camera has a highlight clipping feature and I use it all the time.If any areas have been "blown" the area will flash on the LCD screen.
Exercise 6 allows me to investigate clipping and the effects it has on the highlights, specifically :-
- Completely lost areas of visual information
- A visible break in the form of an edge between nearly-white and total white
- A colour cast along a fringe bordering the clipped white highlight
- The colour saturation
These are the five frames side by side in Bridge.

 |
| f5.6 @ 1/125 |
There seemed to be complete loss of visual information only in these small patches on the brickwork. I could not see a visible break between the nearly-white and total white.
 |
| White areas |
There appears to be a reddish colour fringing but I am not 100% sure that it is caused by the highlights.
 |
| red fringe |
With the second image the exposure was increased by one stop, f4 @ 1/125, the highlight clipping shows the extent of the over exposure.The areas of lost detail increased exponentially in the sky and on the pillars, but I still couldn't see any visible break in the white/nearly-white areas. The exposure on the flagstones/bushes in the foreground is an improvement but the colours are a little weak and the saturation of the background trees is also rather poor.
 |
| f4 @ 1/125 |
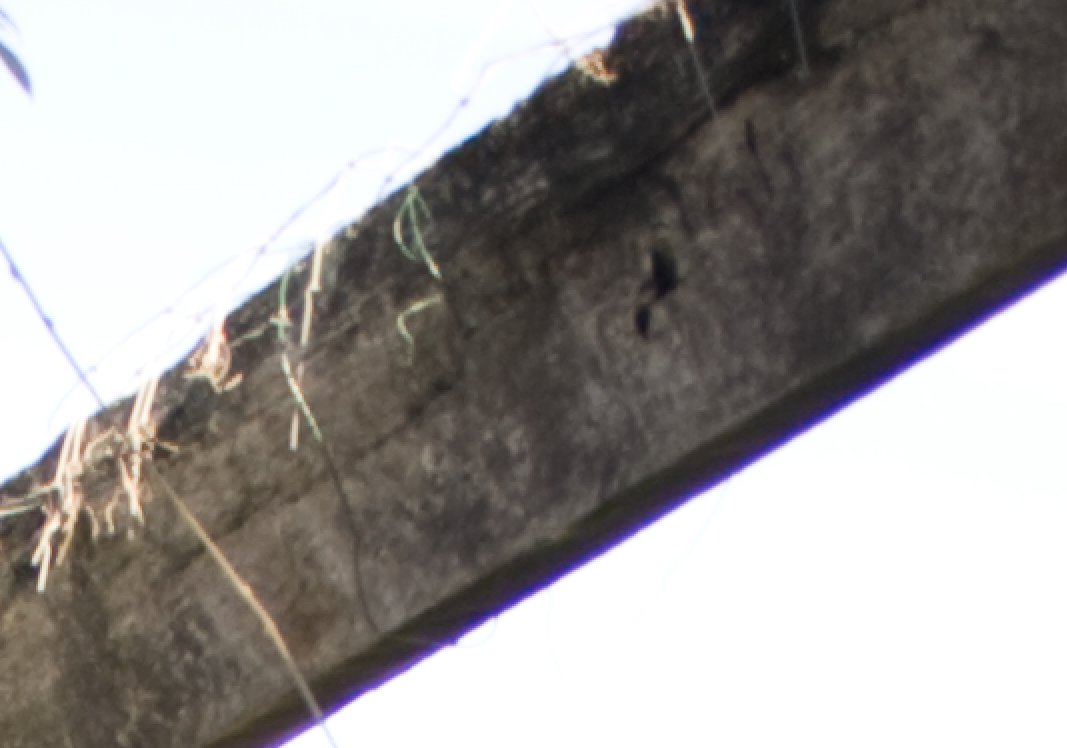 |
| purple fringe |
A purple fringe is now very prominent along the beams of the pergola where they cut across the sky.
As per the remit the next three images were decreased by 1 stop. The shots taken were f8, f11 and f16 all @ 1/125. There was no highlight clipping therefore no loss of detail in white areas and subsequently no fringing. With each successive shot the colours became more saturated but obviously they all appear rather dark especially the last image where nearly all foreground detail is lost.
 |
| f8 @1/125 |
 |
| f11 @ 1/125 |
 |
| f16 @ 1/125 |
The conclusion I have come to after conducting this experiment is although the camera LCD may show little or no highlight clipping, colour saturation may still be weaker than required. This often happens with bright skies and clouds so it maybe an idea to shoot an extra frame with a lower exposure setting. I must practice stopping up and down using shutter speed so I don't alter my depth of field when shooting actual images rather than capturing solely for exercise purposes.
As these were all shot in RAW I could then open them all again and experiment with the Recovery slider. This makes use of the fact that the three channels (RGB) do not clip at the same time and so the Recovery control uses available information to "repair/rebuild" the clipped channel.
 |
| recovery slider |
The best compromise was with the initial shot taken using f5.6 @ 1/125 ( I would prefer a more saturated sky with detail in the clouds) because the over exposed image did not recover enough detail in the sky and the paving aqcuired a strange, unreal look. The under exposed images were just far too dark in the shadows.
Purple fringe can be caused by chromatic aberration which simply put (as I can be confused by all the technical stuff) is a type of distortion in which there is a failure of a lens to focus all colours to the same convergence point. Other causes can be digital noise in dark areas, image processing done by the CCD and CMOS sensors or stray ultravoilet/infrared light.
Ways you can avoid this are: to avoid shooting with a wide-open lens in high contrast scenes, avoid overexposing highlights (e.g. specular reflections and bright sky behind dark objects) or shoot with a UV filter.
I found this great on-line tutorial to remove purple fringing using photoshop http://vimeo.com/3069865 .
No comments:
Post a Comment